


 English
 русский
 Español
 عربى
عربى
Common problems and solutions of blow molding machine
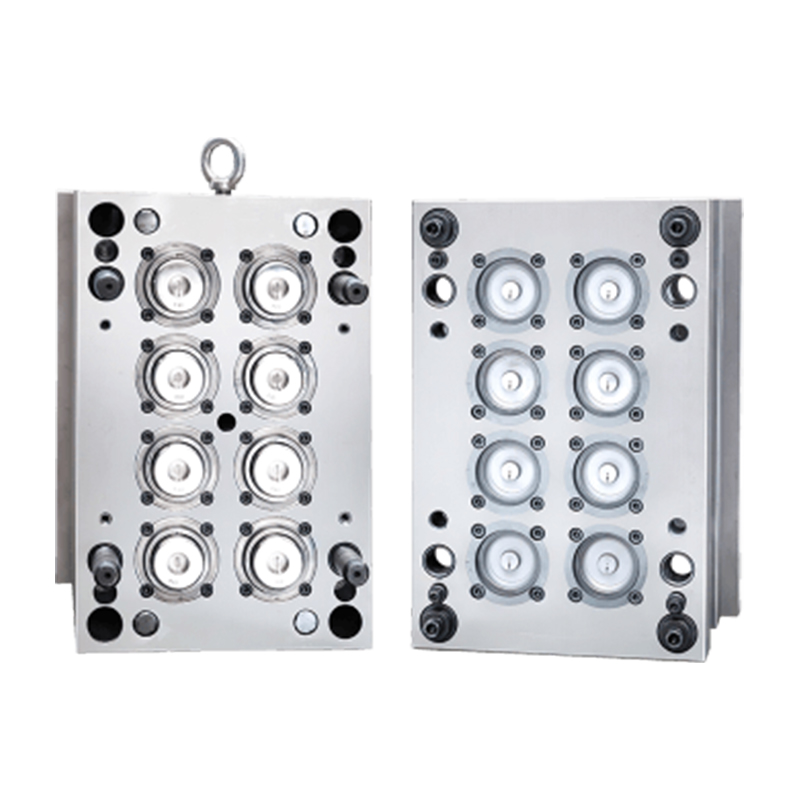
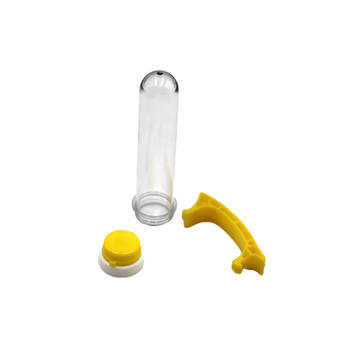
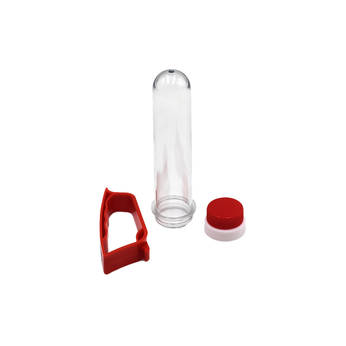
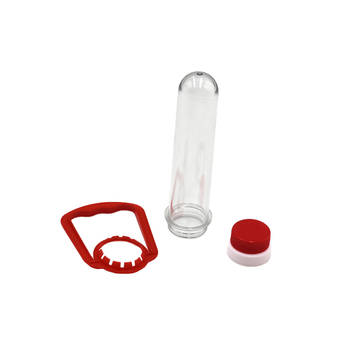
Blow molding machine is a kind of equipment that makes plastic particles into hollow containers through blow molding process. The more common models include one-time hollow extrusion blowers using PP and PE, and two-time molding using PET, PC or PP. Injection stretch blow molding machine, as well as the newly developed multi-layer hollow extrusion blow and stretch blow molding. It is inevitable that there will be failures in the process of using the blow molding machine. Common failures include insufficient bottom molding, bent neck, blue bottom line, and bottom damage. Let's take a look at the causes and solutions of these failures together:
1, The bottom forming is not full
Reasons: 1. The blowing pressure is not enough; 2. The preform temperature is slightly lower when blowing.
Solution: 1. Check whether the high-pressure filter on the side of the mold is unblocked, so as not to affect the high-pressure gas supply. 2. Check the working condition of the road valve to ensure that the air blowing 1 and blowing 2 are positioned accurately. 3. Check the airflow control components of Blow 1 and Blow 2, to ensure that the set value is correct and the interior is unblocked. 4. Make sure that all the ventilation holes on the mold are not blocked.
2, neck bend
Cause: caused by mechanical operation, too thick material on the neck causes deformation after clamping.
Solution: 1. Optimize the clamping structure. 2. The convex ring is clamped too tightly in the recess of the mold top plate, and the size of the preform must be fixed when it is still hot.
3, bottle mouth expansion, blowing bottle out of gas
Reasons: 1. The surrounding temperature is too high; 2. The airflow cooling effect of the oven is low.
Solution: 1. Adjust the position of the cooling shift so that it can provide stronger protection to the thread of the preform. 2. Optimize the design structure of the cooling plate.
4, the bottom line is blue
Reasons: 1. The blowing is too high; 2. The pressure of the stretching rod is insufficient.
Solution: 1. Set the blowing time and speed; 2. Check whether the stretch rod is blocked.
5, the bottom is damaged
Reasons: 1. The temperature at the bottom of the preform is too low; 2. The position of the stretching rod is too high.
Solution: 1. Adjust the heating temperature at the bottom of the preform. 2. Adjust the position of the stretch rod reasonably.
6, the threaded part of the bottle mouth is damaged
Reason: The threaded area has suffered undue stretching, and the surrounding high temperature makes the temperature of the preform threaded area too high.
Solution: 1. Ensure that the conveying arm is adjusted accurately. 2. Precise positioning of the preform, while reducing the heating temperature of the threaded area, and optimizing the structural design.
7, the liquid level drops too much
Reason: After the pet container is filled, the solution drops, and the blowing temperature is too high, forming a pearlescent phenomenon.
Solution: Adjust the temperature of the heating furnace to avoid heating or cold starting.
8, Burst
Reasons: 1. The bottom of the bottle is too thin due to high temperature; 2. The blowing time is too short.
Solution: 1. Adjust the bottom temperature of the bottle. 2. Extend the delay blowing time.
9, the parting line is flattened
Reason: In the blowing process, the gas cannot be discharged from the exhaust hole in time, and the thin layer of material forming the bottle wall blocks the exhaust hole.
Solution: 1. Correctly adjust the mold gap. 2. The high-pressure air valve controls the air flow. 3. Improve the design structure
10, bottom wrinkles
Reasons: The external creasing and blowing pressure 1 is not enough, and the stretching rod is too much to push the material down; the internal creasing is generally because the preform head is overheated or the stretching pressure is delayed at the beginning.
Solution: 1. Ensure that the blowing bottle 1 is continuously and consistently on the mold. 2. Do not overheat the end of the preform. 3. Make sure that the delay from the start of stretching to the start of blowing 1 is not too long.
11, thermo bottle
Cause: The bottle is overheated, causing recrystallization inside or outside the preform, causing the bottle to burst.
Solution: 1. Stretching time is too long. 2. Lower the position of the cooling plate.
12, the section weight is uneven (the neck is too heavy)
Reason: The stretching rod gradually becomes cold when stretched from the bottom up, the material is very thin, and the cooling speeds up.
Solution: 1. Adjust the position of the hot spot to solve the main body of the preform. 2. Adjust the position of the cooling plate.
13, bottom eccentric
Reasons: 1. Conveying and aligning problems; 2. The back door is not in agreement with the bottle.
Solution: 1. Adjust the transportation and alignment of the preform mold. 2. The tension rod pressure setting is too low. 3. Blowing 1 pressure is too high and too early. 4. The adjustment of the stretch rod cushion is inappropriate.
14, pearlescent-foot hair
Reason: The root cause is cold bottles. The direct result of stretching exceeding the natural stretching limit is actually the onlooker structure of the bottle being stretched torn, and the resulting tearing point turns into visible pearl after reflection.
Solution: 1. Make sure the bottom of the bottle is in the center. 2. Reduce the speed of the bottle blowing machine. 3. Blowing 1 The air intake is too late, and the stretch rod has been in contact with the preform for too long.
15, the bottom gap is out of tolerance
Reason: Exceeding the natural stretch limit.
Solution: 1. Strengthen heat dissipation to the bottom of the bottle. 2. Heat and cool the whole preform, and move different temperatures up from around the side. 3. Ensure that the mold cooling water circulates normally.
/
 +86-15157625901 / 13706572756
 info@suncomold.com
  No.2 Gongxin Avenue, Beicheng Street, Huangyan, Taizhou, Zhejiang, China