


 English
 русский
 Español
 عربى
عربى
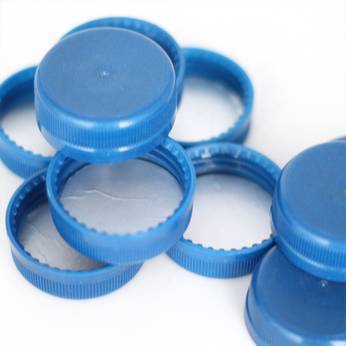
Apply liquid latex on the Bald Cap Mold Block evenly and then stretch it onto your head to get the desired level of thickness of your new hair cap. This new Bald Cap Mold Block is lightweight as it's completely hollow inside. It will mould into any shape you want, it will fit around your head, it will be secure and the most important thing about this product is that it can be used by both kids and adults. The other great thing about this product is that it comes with a 3 month guarantee! This means that if it doesn't work for you after the three month guarantee period then you haven't wasted money or time! No questions asked.
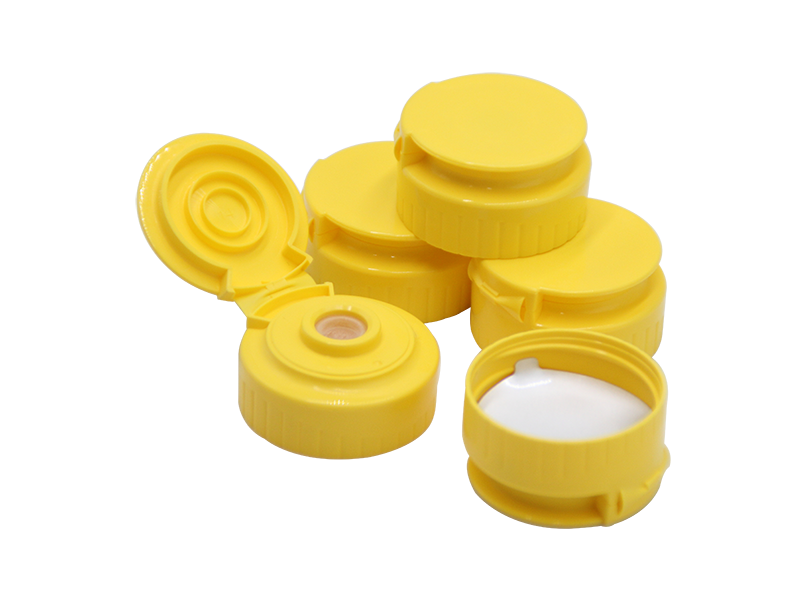
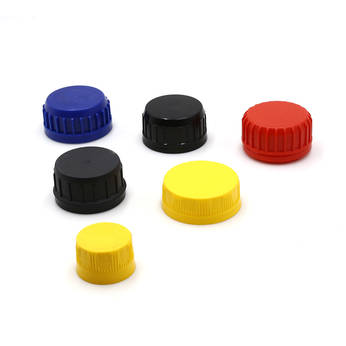
One of the most common problems associated with the wearing of caps is the stripping and unscrewing of the caps. This is where the cap gets very loose and then somehow manages to strip away from the scalp. To avoid such problems when wearing your caps, ensure that you follow these simple tips:
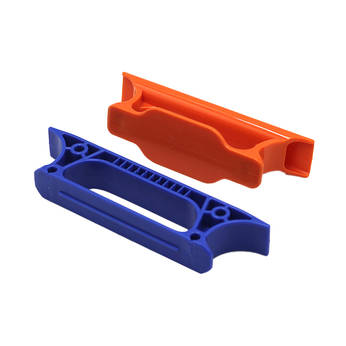
When using cap molds or scrunchies, it's important to remember the importance of wearing a head cap. These small plastic accessories are there to protect your head and to prevent the possibility of serious injury. Although caps with plastic or cardboard blades are probably more likely to cause bleeding and burns, they still aren't safe enough on their own, which is why you need to use some type of protective device to prevent the plastic being scraped off.
Scratching a cap mould or scrunchy with your bare hands can lead to problems, which are especially common with younger children. Before you start, thoroughly wash your hands with soap and water. Then take a q-tip or other object which can pierce the cap, and gently clean the inside threads of the cap using it's toothbrush. If you find any inside threads which have become damaged, clean them thoroughly with another Q-tip until they're no longer visible.
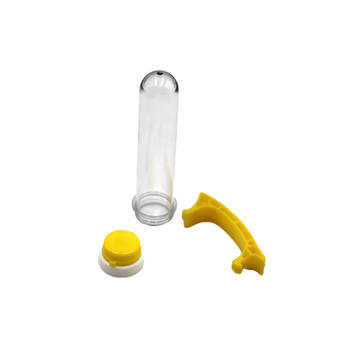
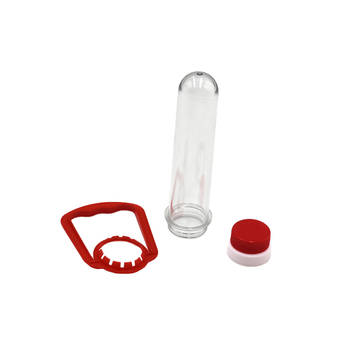
Once this has been done, then you're ready to create your very own custom cap moulds. To do this, first attach the plastic piece of your choice to the pipe which you've drilled, and then thread the piece through the drilled hole and onto the cap. Secure it securely by twisting it in a clockwise direction. Once it's all screwed in, twist the pipe so that it rests against the cap. The process is now complete, and you can see your creation!
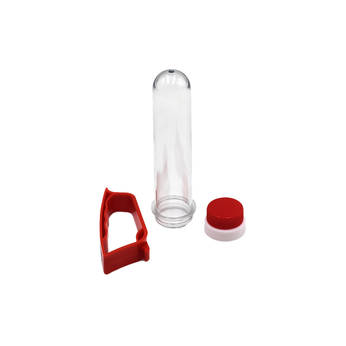
If you are using molds, then make sure that you seal the pipe. First seal it with clear tape. Then tape the area near the hole with silicone tape, since the tape will help to keep the mold in place. Lastly, apply another layer of silicone tape on top of your silicone molds, and then lay your design on top of it. Place your silicone pipe over the tape, and you have yourself a custom silicone cap mould!
 +86-15157625901 / 13706572756
 info@suncomold.com
  No.2 Gongxin Avenue, Beicheng Street, Huangyan, Taizhou, Zhejiang, China